Preview Files, Folders, and Images in the Finder using Quick Look
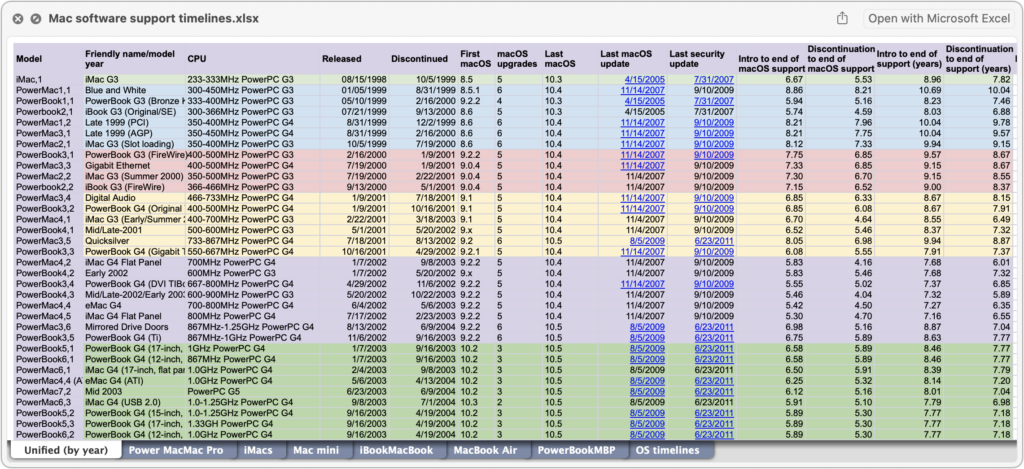
Finder icons sometimes hint at their file’s contents, but if you find yourself opening file after file to look at the contents quickly, the Mac has a little-known feature just for you: Quick Look. To give it a spin, select a file in the Finder and press the Space bar or Command-Y. If Quick Look supports that type of file, it instantly displays a standalone window showing the contents of the file without opening it in its native app. Press the Space bar again to close the window.

If the document you’re previewing has multiple pages, you’ll see thumbnails along the right side that you can scroll through using your mouse or trackpad, or by pressing the Page Up/Page Down keys. But you aren’t limited to just viewing a file: click the Open With button to open the file in its default app, or click the Share ![]() button in the upper right to send it to someone else via email, Messages, or another sharing service. PDFs and images will also show the Markup
button in the upper right to send it to someone else via email, Messages, or another sharing service. PDFs and images will also show the Markup ![]() button that lets you annotate the file directly, and images have a Rotate
button that lets you annotate the file directly, and images have a Rotate ![]() button.
button.

If you need to scan through a set of files in a folder, you can press the arrow keys while the Quick Look window remains open—how you move among the files depends on the Finder window’s view. In List view, for instance, using the Up and Down arrow keys can be a great way to browse through a collection of pictures. You can even interact with the Finder while using Quick Look, which means you can delete an unwanted photo by pressing Command-Delete while previewing it.
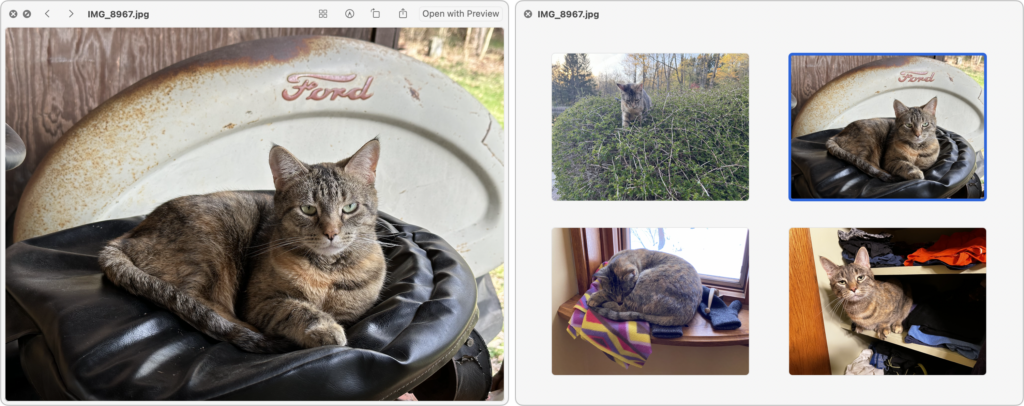
Quick Look works well for evaluating or comparing multiple files. Select a bunch of files and press the Space bar to open them all in Quick Look. The Left and Right arrow keys let you cycle through your selection; there are also Back and Forward arrow buttons at the top left of the Quick Look window. To the right, you’ll see a Thumbnail ![]() button that displays the selected files in a grid—click any thumbnail to focus on just that item.
button that displays the selected files in a grid—click any thumbnail to focus on just that item.

To remove the distraction of your desktop, click the Zoom ![]() button in a Quick Look window. If you have multiple files selected, you can even start a simple slideshow from the zoomed Quick Look window—it’s a quick way to show off a folder of images. Another way to get to a zoomed Quick Look window is to select the files in the Finder and press Option-Space.
button in a Quick Look window. If you have multiple files selected, you can even start a simple slideshow from the zoomed Quick Look window—it’s a quick way to show off a folder of images. Another way to get to a zoomed Quick Look window is to select the files in the Finder and press Option-Space.
What file types does Quick Look work with? Not everything, but out of the box, Quick Look supports text files, RTF files, HTML files, images, audio, video, PDFs, iWork documents (Keynote, Numbers, and Pages), Microsoft Office files, fonts, and more. Third-party apps can extend Quick Look to support proprietary formats, and developers have released independent Quick Look extensions. Many people appreciate these three extensions:
- Folder Preview (free) displays the contents of folders in Quick Look.
- BetterZip (free for viewing) lets you look inside Zip archives and other compressed files.
- Peek ($7.99) not only supports 530 file types but also lets you copy, search, navigate, and more directly within the Quick Look window.
Although it’s best known in the Finder, Quick Look is available elsewhere on the Mac, including the examples below, so it’s always worth selecting what you want to preview and pressing the Space bar to see if it works.
- Spotlight: Preview search results to see if they’re what you want
- Open dialogs: Preview files before you open them
- Time Machine: Preview versions of files before restoring them
- File transfer apps: Preview files on remote servers before downloading
- Messages: Preview files added to conversations before opening them
- Mail: Preview attachments to email messages
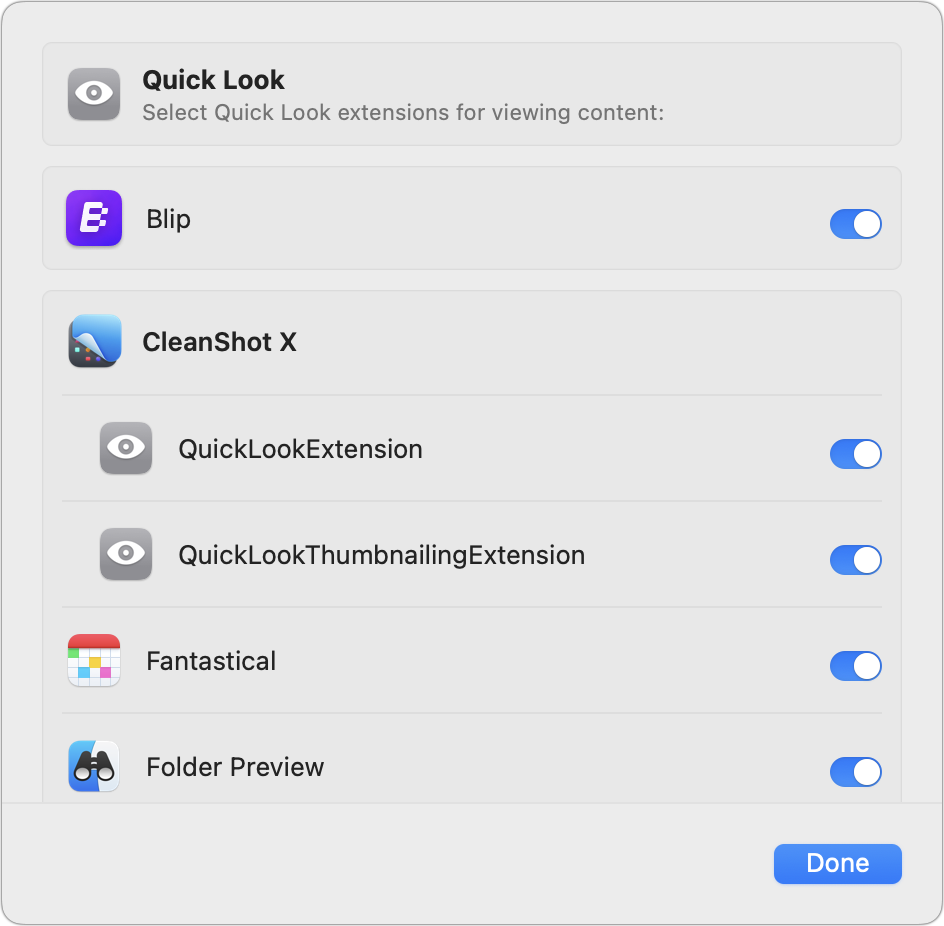
To manage your Quick Look extensions, open System Settings > General > Login Items & Extensions, scroll to the bottom, and click the ⓘ button next to Quick Look.

Finally, note that if your Mac has a trackpad, you can invoke Quick Look by force-touching a Finder icon (press deeply until you feel a click) instead of pressing the Space bar.
Quick Look takes just moments to learn, but it can save you hours of time poring through files on your Mac!


