Forrester Research and IBM Studies Show Macs Are Cheaper than PCs
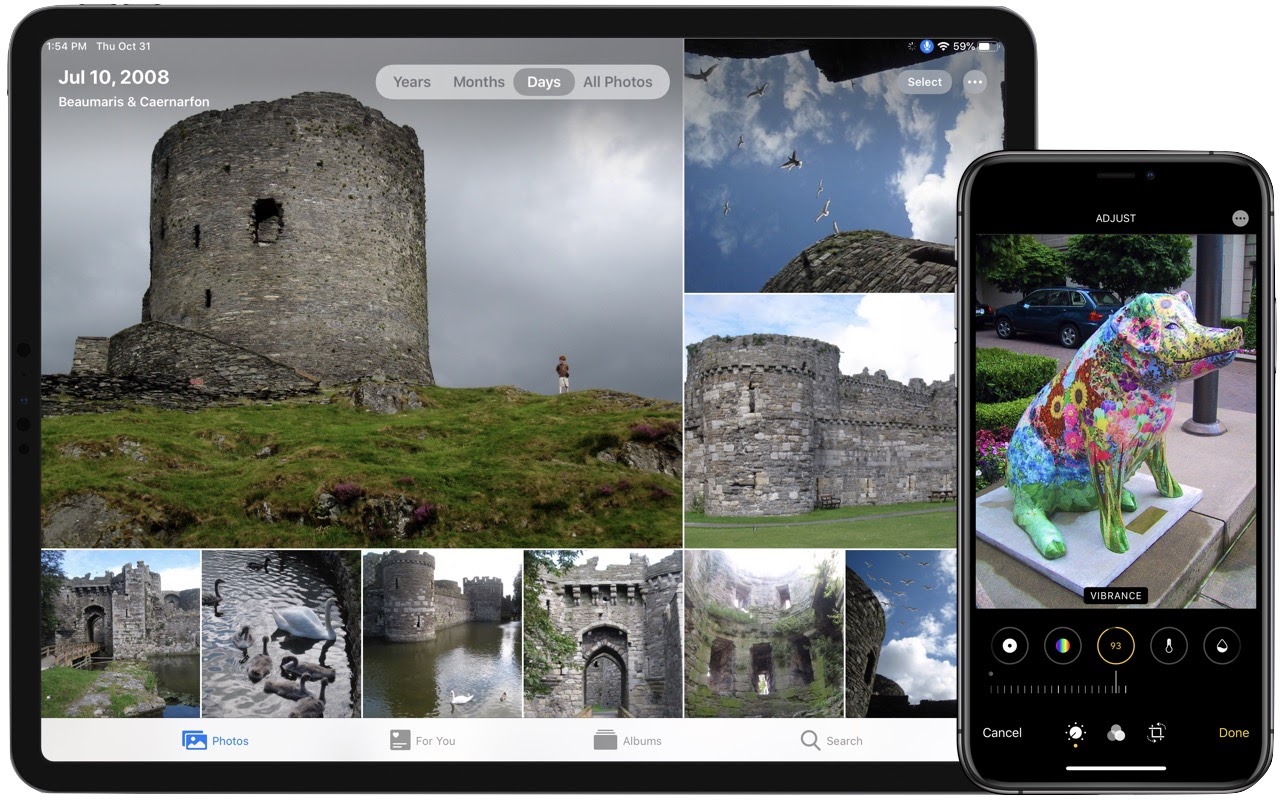
New Organization and Editing in Photos in iOS 13 and iPadOS 13

To Prevent Spearfishing, Set a PIN or Passcode on Your Cell Phone Account

What to Put at the End of Your Email Messages

Don’t Succumb to iOS 13 Update Fatigue!

Apple Business Manager Is a Win for Apple-Driven Workplaces
Apple Business Manager Is a Win for Apple-Driven Workplaces
If you run a company, you know how much work onboarding a new employee can be. Beyond teaching them the ropes of your business, they’ll need a Mac and potentially an iPhone or iPad as well. Setting those devices up with all the right apps, settings, and logins can take days or even weeks. And that’s just for one person—imagine if you need to lather, rinse, and repeat for dozens or even hundreds of new employees?
The solution is Apple Business Manager, which ensures that every Apple device you purchase is associated with your corporate account—and in some cases, with a particular user—before it’s shipped to you. That enables zero-touch configuration and makes manual setup a thing of the past. Here’s how we make this happen.
We’ll work with someone at your company—your Business Contact—to set you up with two Apple programs: Apple Custom Store and Apple Business Manager. Your Business Contact will merely need to respond to some email messages from Apple and have a call with Apple to verify that they can agree to Apple’s Terms & Conditions on behalf of your company.
Apple Custom Store
The first program, Apple Custom Store, provides a customized corporate store for purchasing Apple devices. That’s important because all devices purchased through your Apple Custom Store are automatically tied to your company. In fact, they’re connected to your company until you intentionally release them while decommissioning, which can help protect against theft or employees keeping devices they shouldn’t.
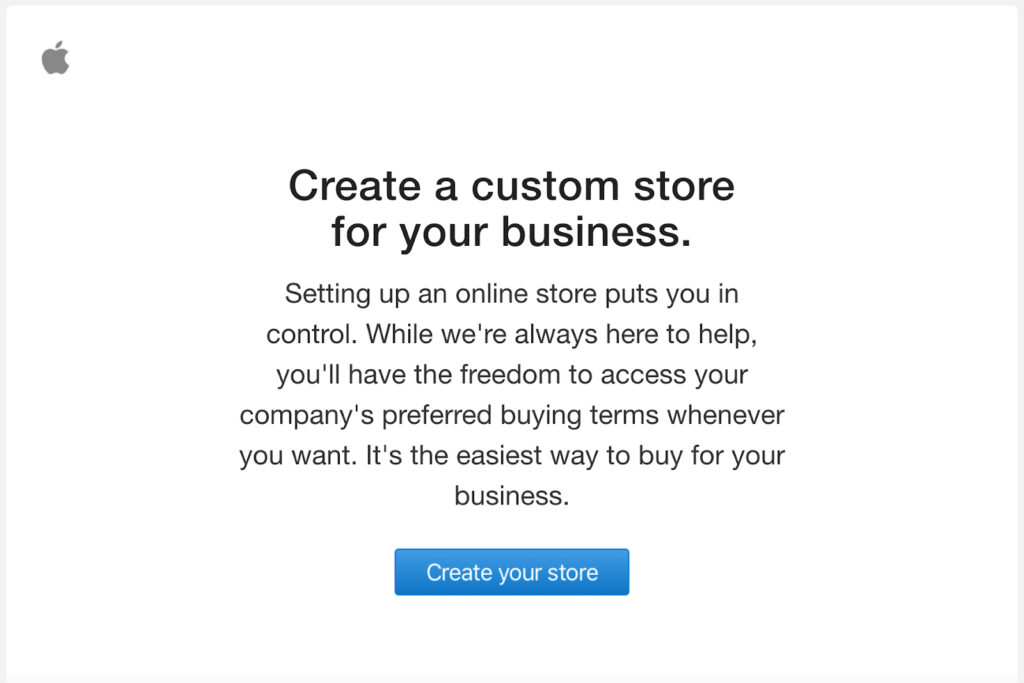
Even more important, all new Mac purchases must go through the Apple Custom Store because there’s no easy way to add Macs purchased in any other way to Apple Business Manager.
Once you’re set up with an Apple Custom Store, we can suggest custom device configurations tailored to your company’s needs and even create templates for systems customized for different job roles. As a bonus, you’ll receive special “loyalty pricing” based on your annual purchase volume.
Apple Business Manager
The second program, Apple Business Manager, is what enables you to enroll and manage devices purchased through your Apple Custom Store. When we say “manage” we’re talking about mobile device management, or MDM. In essence, MDM systems allow IT administrators to define “profiles” that specify your company’s settings and policies. Those might be particular to a user, such as configuring email login credentials, or they might be general to everyone, such as security policies that require all iOS devices to use a six-digit passcode and Macs to turn on their screensavers after 2 minutes and require a password to unlock. And, of course, an MDM system lets your company control when to install operating system updates, ensuring that nothing happens before you’re ready.
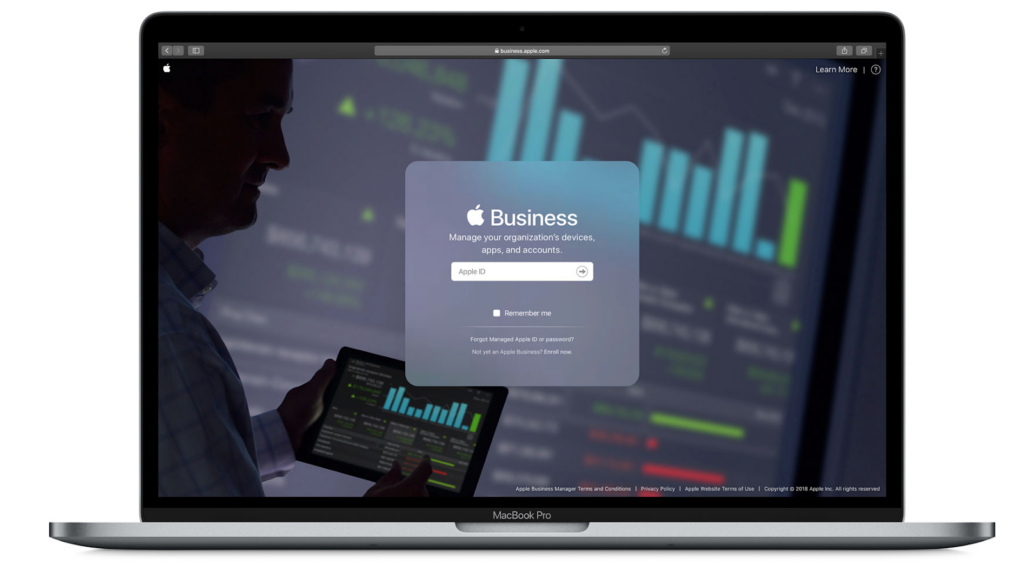 You use Apple Business Manager to associate a new device purchased from your Apple Custom Store with the employee who will be receiving it. When the device arrives, the employee unboxes it and turns it on, and your MDM system goes to work downloading apps and configuring settings. Once the employee signs in with their credentials, the MDM system continues to configure the device for that person. No one from IT even has to touch it—hence “zero-touch” configuration.
Enrolling your devices in your MDM system via Apple Business Manager doesn’t just help with initial deployment. Employee turnover is a fact of life, and with a device in Apple Business Manager, you can use your MDM system to redeploy a device quickly by wiping it and re-enrolling it for the new employee.
We recommend that all Apple-using businesses purchase through an Apple Custom Store and use Apple Business Manager to tie those devices to the company’s MDM system. Contact us for more information about what’s involved, and for our MDM recommendations.
(Featured image by Annie Spratt on Unsplash)
More stuff you should read…
- Forrester Research and IBM Studies Show Macs Are Cheaper than PCs
- Macs Switching from Intel Chips to Apple Silicon: Answers to Your Questions
- Beware Scammers when Selling Your Old Tech Hardware Online
- New 16-inch MacBook Pro Sports a Redesigned Scissor-Switch Keyboard
- Apple Releases Redesigned Mac Pro and Pro Display XDR
More great tips from the archives…
- Two Secret Key Combos for Forward Delete on the Magic and MacBook Keyboards
- iCloud Photo Library Users: Do NOT Turn Off iCloud
- Ever Wondered Which Words to Capitalize in a Title? Use Capitalize My Title!
- Tips for Setting Up a Comfortable and Effective Home Work Space
- Tips for Better Videoconferencing
- Set Your Preferred Name and Photo for Messages on iOS
- The Fastest Way to Change Wi-Fi Networks in iOS
- What to Put at the End of Your Emails
- Apple Business Manager Is a Win for Apple-Driven Workplaces