Need to Move Lots of Data Between Macs? Try Target Disk Mode
Make Sure to Test Your Backup System with Occasional Restores
Did you know that the word for the irrational fear of Friday the 13th is paraskevidekatriaphobia? Neither did we, but what that supposedly unlucky day is good for—whenever it rolls around—is reminding us to test our backup systems. If something does go wrong, backups can save your bacon, but only if they’re actually working. So on Friday the 13th this month, take a few minutes to make sure you can restore files from Time Machine, see if you can boot from your bootable duplicate, and generally verify that your data really is being backed up successfully. And if you’ve already missed the 13th, today is a fine day to make up for it with a quick test.
(Featured image by Adam Engst)
You know you need these tips!
- Make a Backup before Upgrading to Catalina or iOS 13!
- Learn How to Autofill SMS Login Codes in iOS 12 and Mojave
- The Secret Trick That Lets You Paste Phone Numbers into the Phone App
- Go Beyond External Hard Drives with Network-Attached Storage
Apple Business Manager Is a Win for Apple-Driven Workplaces
If you run a company, you know how much work onboarding a new employee can be. Beyond teaching them the ropes of your business, they’ll need a Mac and potentially an iPhone or iPad as well. Setting those devices up with all the right apps, settings, and logins can take days or even weeks. And that’s just for one person—imagine if you need to lather, rinse, and repeat for dozens or even hundreds of new employees?
The solution is Apple Business Manager, which ensures that every Apple device you purchase is associated with your corporate account—and in some cases, with a particular user—before it’s shipped to you. That enables zero-touch configuration and makes manual setup a thing of the past. Here’s how we make this happen.
We’ll work with someone at your company—your Business Contact—to set you up with two Apple programs: Apple Custom Store and Apple Business Manager. Your Business Contact will merely need to respond to some email messages from Apple and have a call with Apple to verify that they can agree to Apple’s Terms & Conditions on behalf of your company.
Apple Custom Store
The first program, Apple Custom Store, provides a customized corporate store for purchasing Apple devices. That’s important because all devices purchased through your Apple Custom Store are automatically tied to your company. In fact, they’re connected to your company until you intentionally release them while decommissioning, which can help protect against theft or employees keeping devices they shouldn’t.
Even more important, all new Mac purchases must go through the Apple Custom Store because there’s no easy way to add Macs purchased in any other way to Apple Business Manager.
Once you’re set up with an Apple Custom Store, we can suggest custom device configurations tailored to your company’s needs and even create templates for systems customized for different job roles. As a bonus, you’ll receive special “loyalty pricing” based on your annual purchase volume.
Apple Business Manager
The second program, Apple Business Manager, is what enables you to enroll and manage devices purchased through your Apple Custom Store. When we say “manage” we’re talking about mobile device management, or MDM. In essence, MDM systems allow IT administrators to define “profiles” that specify your company’s settings and policies. Those might be particular to a user, such as configuring email login credentials, or they might be general to everyone, such as security policies that require all iOS devices to use a six-digit passcode and Macs to turn on their screensavers after 2 minutes and require a password to unlock. And, of course, an MDM system lets your company control when to install operating system updates, ensuring that nothing happens before you’re ready.
You use Apple Business Manager to associate a new device purchased from your Apple Custom Store with the employee who will be receiving it. When the device arrives, the employee unboxes it and turns it on, and your MDM system goes to work downloading apps and configuring settings. Once the employee signs in with their credentials, the MDM system continues to configure the device for that person. No one from IT even has to touch it—hence “zero-touch” configuration.
Enrolling your devices in your MDM system via Apple Business Manager doesn’t just help with initial deployment. Employee turnover is a fact of life, and with a device in Apple Business Manager, you can use your MDM system to redeploy a device quickly by wiping it and re-enrolling it for the new employee.
We recommend that all Apple-using businesses purchase through an Apple Custom Store and use Apple Business Manager to tie those devices to the company’s MDM system. Contact us for more information about what’s involved, and for our MDM recommendations.
(Featured image by Annie Spratt on Unsplash)
More stuff you should read…
- Forrester Research and IBM Studies Show Macs Are Cheaper than PCs
- Macs Switching from Intel Chips to Apple Silicon: Answers to Your Questions
- Beware Scammers when Selling Your Old Tech Hardware Online
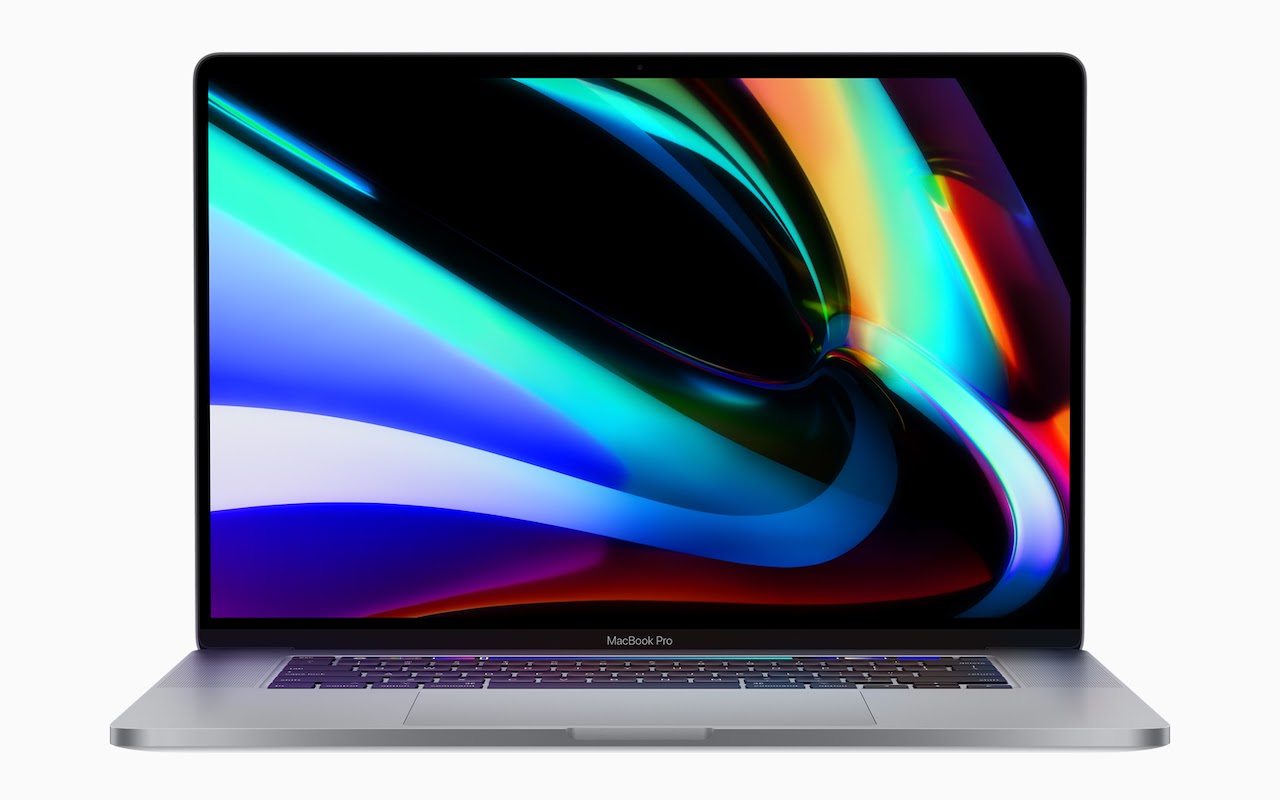
- New 16-inch MacBook Pro Sports a Redesigned Scissor-Switch Keyboard
- Apple Releases Redesigned Mac Pro and Pro Display XDR
More great tips from the archives…
- Two Secret Key Combos for Forward Delete on the Magic and MacBook Keyboards
- iCloud Photo Library Users: Do NOT Turn Off iCloud
- Ever Wondered Which Words to Capitalize in a Title? Use Capitalize My Title!
- Tips for Setting Up a Comfortable and Effective Home Work Space
- Tips for Better Videoconferencing
- Set Your Preferred Name and Photo for Messages on iOS
- The Fastest Way to Change Wi-Fi Networks in iOS
- What to Put at the End of Your Emails
- Apple Business Manager Is a Win for Apple-Driven Workplaces
Consider USB Peripherals When Troubleshooting Mac Problems
If you’re experiencing a sporadic problem with your Mac, the sort of thing that happens often enough to be annoying but not so frequently as to be reproducible, allow us to suggest one little-known troubleshooting tip. Malfunctioning USB devices—keyboards, mice, hubs, printers, etc.—can sometimes cause truly inscrutable problems ranging from startup issues to kernel panics. USB-caused issues aren’t common, but when they do happen, they can be challenging to track down. If you’ve tried everything else, disconnect all unnecessary USB devices and, if possible, swap your wired keyboard and mouse for another set. Then see if the problem goes away.
(Featured image by Adam Engst)
Looking for more troubleshooting tips?
- How to Ask for Tech Support So You Get Good Answers Quickly
- Having Mac Troubles? Running Apple Diagnostics May Help Identify the Problem
- Troubles with Messages? Read On for Ten Possible Solutions
- iCloud Services Being Wonky? Check Apple’s System Status Page
Data Backup Strategies Go Only So Far—What’s Your Plan If Your Mac Dies?
What Does Having a T2 Chip in Your Mac Mean to You?
Do You Put Dates in Filenames? Use This Format for Best Sorting
There are plenty of situations where it makes sense to put a date in a filename, but if you don’t use the right date format, the files may sort in unhelpful ways. For instance, using the names of months is a bad idea, since they’ll sort alphabetically, putting April before January. And although the Mac’s Finder is smart enough to sort filename-3 before filename-20, most other operating systems are not (because 2 comes before 3). So, to make your life—and the lives of everyone with whom you share files—a little easier, use this date format, which is guaranteed to sort correctly everywhere: YYYY-MM-DD. That translates to a four-digit year, followed by a two-digit month (with a leading zero if necessary), and a two-digit day (again, with a leading zero if need be).
(Featured image by Henry & Co. on Unsplash)
Got another minute? Check these tips out.
- Avoid Ransom Requests with a Unique iCloud Password
- Apple Music Can Be Your Personal DJ
- Did You Know You Can Make a Video of Anything on Your iPhone or iPad Screen?
- Did You Know Families Can Share Mac and iOS Apps Purchased from the App Store?
Do not upgrade to Catalina MacOS 10.15 until we give you the go-ahead. (.2 or .3 ask after Thanksgiving)
Make a Backup before Upgrading to Catalina or iOS 13!
Confession time. If there’s one topic we can’t stop talking about, it’s backups. Backups are essential, since no one can guarantee that your Mac or iPhone won’t be lost or stolen, be caught in a flood from a broken pipe, or just fail silently. It happens.
You should have a good backup strategy that ensures backups happen regularly, but it’s not paranoid to make double extra sure when you’re doing something that’s more likely to cause problems than everyday activity. And by that we’re thinking about upgrading to a major new operating system, such as macOS 10.15 Catalina or iOS 13.
The reason is simple. As much as Apple tests the heck out of these upgrades, so many files are in play that all it takes is one unexpected glitch to render the entire Mac or iPhone non-functional. Wouldn’t you like to be able to revert instantly if something does go wrong?
Mac Backups before Upgrading
On the Mac side, most people should be using Time Machine. It ensures that you can not only restore your entire drive if necessary but also easily recover a previous version of a corrupted file. The other advantage of having Time Machine backups (and a bootable duplicate, discussed next) is that you can use either to migrate all your apps, data, and settings back to a new installation of macOS, should that become necessary.
As useful as Time Machine is, a bootable duplicate made with SuperDuper or Carbon Copy Cloner is the best insurance right before you upgrade to Catalina. If an installation goes south, you can also boot from your duplicate and get back to work right away.
Finally, although it’s not directly related to backing up before upgrading, we always recommend an offsite backup made via an Internet backup service like Backblaze. This is because a fire or flood would likely destroy your backup drive along with your Mac.
So please, back up your Mac before something goes wrong. It’s fast, easy, and inexpensive to get started, and we’re happy to help.
iOS Backups before Upgrading
Although upgrade-related problems are less common with iPhones and iPads, they can still happen. It’s more likely that you’d drop your little friend accidentally while juggling groceries or forget it after your workout at the gym, but regardless, a backup ensures that you don’t lose precious photos if you’re not using iCloud Photos or My Photo Stream, and backups make migrating to a new device like a fancy new iPhone as painless as possible.
With iOS, though, you don’t need extra software or hardware to make a backup. Apple provides two ways of backing up your iPhone or iPad: iTunes and iCloud. We generally recommend backing up to iCloud if your backups will fit in the free 5 GB of space Apple provides or if you’re already paying for more iCloud space. If you’re not a fan of the cloud or don’t have space, there’s nothing wrong with iTunes backups, though they’re a bit fussier to set up and manage.
There’s also no harm in using both, with iCloud for nightly automatic backups and iTunes for an extra backup just before upgrading to iOS 13 or to a new iPhone or iPad. A second backup can be useful—we’ve seen situations where an iPhone would refuse to restore its files from iTunes but would from iCloud.
To back up to iCloud, go to Settings > Your Name > iCloud > iCloud Backup, turn the switch on, and tap Back Up Now. For backups to happen automatically in the future, you must have sufficient space in your iCloud account (you can buy more), and your device must be on a Wi-Fi network, connected to power, and have its screen locked.
To back up to iTunes, connect your device to your Mac via a Lightning-to-USB cable, launch iTunes, and click the device icon to the right of the media menu.
Then, in the Backups section, click the Back Up Now button. If you’re prompted to encrypt your backups, we encourage you to agree since otherwise your backup won’t include passwords, Health information, or HomeKit data. For automatic backups via iTunes, select This Computer. After that, every time you plug into your Mac, it will back up.
The eagle-eyed among you will have noticed that we’re not talking about how to restore if something goes wrong during an upgrade. That’s because it’s impossible to predict exactly what might happen or what state your device will end up in. So if you’re unfortunate enough to have such problems—or to have some other catastrophic failure—get in touch and we’ll be happy to help.
(Featured image based on an original by Alejandro Escamilla on Unsplash)
Just a few of the other 67 times we talk about backup…
- Recover Drive Space by Deleting Old and Unnecessary iOS Device Backups
- Make Sure to Test Your Backup System with Occasional Restores
- Data Backup Strategies Go Only So Far. What’s Your Plan If Your Mac Dies?
And a few all time favorites…
More great tips from the archives…
- Two Secret Key Combos for Forward Delete on the Magic and MacBook Keyboards
- iCloud Photo Library Users: Do NOT Turn Off iCloud
- Ever Wondered Which Words to Capitalize in a Title? Use Capitalize My Title!
- Tips for Setting Up a Comfortable and Effective Home Work Space
- Tips for Better Videoconferencing
- Set Your Preferred Name and Photo for Messages on iOS
- The Fastest Way to Change Wi-Fi Networks in iOS
- What to Put at the End of Your Emails
- Apple Business Manager Is a Win for Apple-Driven Workplaces
- Find Wasted Space with Storage Management
- Forrester Research and IBM Studies Show Macs Are Cheaper than PCs
- Being an Apple User Means You’re Not the Product
- How to Ask for Tech Support So You Get Good Answers Quickly
- Apple Business Manager Is a Win for Apple-Driven Workplaces
Two Secret Key Combos for Forward Delete on the Magic and MacBook Keyboards
Traditionally, extended keyboards come with a Forward Delete key that, when you press it, deletes characters to the right of the insertion point, unlike the main Delete key, which deletes to the left of the insertion point. Forward Delete still exists on Apple’s Magic Keyboard with Numeric Keypad, but it’s missing from the Magic Keyboard and all Mac laptop keyboards. If you like using Forward Delete (and well you should!), the secret key combinations that simulate it for any Apple keyboard that lacks it are Fn-Delete and Control-D. You can often add Option to the mix to delete the word to the right of the insertion point instead of just a character.
(Featured image by Adam Engst)
Some of the “greatest hits”…
More great tips from the archives…
- Two Secret Key Combos for Forward Delete on the Magic and MacBook Keyboards
- iCloud Photo Library Users: Do NOT Turn Off iCloud
- Ever Wondered Which Words to Capitalize in a Title? Use Capitalize My Title!
- Tips for Setting Up a Comfortable and Effective Home Work Space
- Tips for Better Videoconferencing
- Set Your Preferred Name and Photo for Messages on iOS
- The Fastest Way to Change Wi-Fi Networks in iOS
- What to Put at the End of Your Emails
- Apple Business Manager Is a Win for Apple-Driven Workplaces
- Find Wasted Space with Storage Management
- Forrester Research and IBM Studies Show Macs Are Cheaper than PCs
- Being an Apple User Means You’re Not the Product
- How to Ask for Tech Support So You Get Good Answers Quickly
- Apple Business Manager Is a Win for Apple-Driven Workplaces