Siri on the Mac hasn’t been as useful as on iOS devices, but with macOS 10.14 Mojave, Apple enhanced the Mac version of Siri in a variety of ways. Apple says that Siri now knows about food, celebrities, and motorsports, but more interesting is how you can ask Siri to control your HomeKit devices (“Turn on the bedroom lights.”) and locate your iOS devices or AirPods via Find My iPhone (“Where is my iPhone?”).
Use This Hidden Feature in Safari to Access Tabs on Your Other Apple Devices
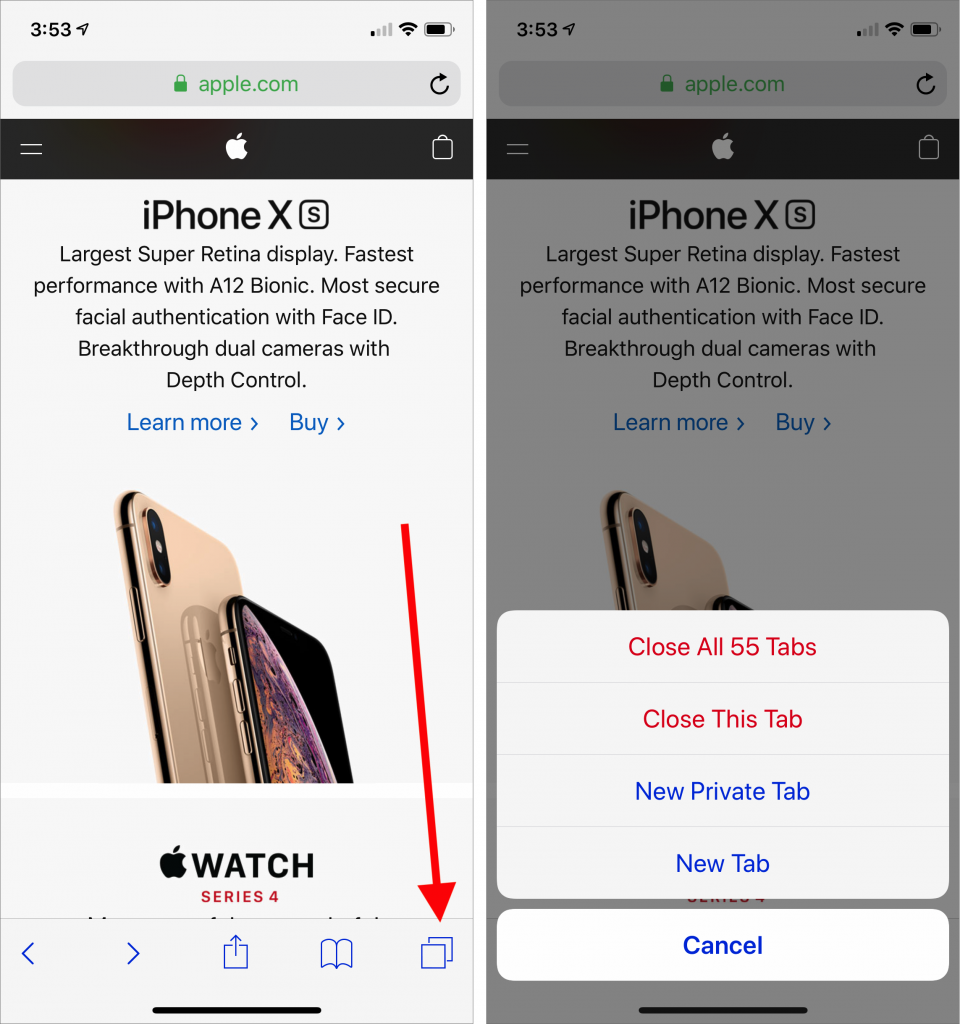
Browser tabs. They breed like bunnies, and if you’re like us, you have oodles of tabs open on your Mac, iPhone, and iPad. But you may not know that Safari has a great tab-management feature that lets you access all the open tabs on all your devices. (Make sure to enable the Safari switch in System Preferences > iCloud on the Mac and in Settings > YourName > iCloud in iOS.) This tab overview is easiest to find on the iPad, where tapping the tab button displays local tabs as thumbnails at the top of the screen and lists tabs from other devices beneath. On the iPhone, scroll down to the bottom of the tab list to see them, and on the Mac, choose View > Show Tab Overview. Click or tap any tab to view it. To close an unnecessary tab, in iOS, swipe left and tap Close; in macOS, hover over the tab name and click the x button that appears.
The Secret Trick for Enabling Caps Lock When Typing in iOS
The Caps Lock key on Mac keyboards often feels extraneous, since it’s easy enough to hold the Shift key while typing multiple capital letters for acronyms like HIPPA or when you want to shout GET OFF MY LAWN! But if you need to do that on an iPhone or iPad, it’s annoying to keep tapping the Shift key to switch to the uppercase keyboard for each letter. Luckily, Apple has baked a time-saving trick into its onscreen keyboard. Tap the Shift key twice in a row to lock it on, type the letters you need, and tap it again to unlock it. Notice that when Shift is locked on, a horizontal line appears beneath the arrow on the Shift key.
This Is Hands-Down the Easiest Way to Give Someone Your Wi-Fi Network Password
You know the drill—a friend comes to visit and wants to get on your Wi-Fi network. You’ve written the password down somewhere, but where? Even if you have it handy, it’s a pain for your friend to type in. Since macOS 10.13 High Sierra and iOS 11, Apple’s operating systems can make connecting a lot easier. Have your guest choose your network, and then put their device next to one of your devices that’s awake and connected to the Wi-Fi network. As long as you have a card in your Contacts app whose name matches your friend’s My Card in their Contacts, your device should ask if you want to share the Wi-Fi password with them. Just tap Share Password when prompted and you’re done!
Don’t Use Rules in Apple’s Mail to Send “Out of Office” Replies
It’s helpful to unplug occasionally and ignore email while on vacation or otherwise away from your work routine. And it’s a good idea to set up a vacation auto-responder to tell correspondents what to do in your absence. It might be tempting to create such an auto-reply with a rule in Mail on the Mac, but resist the temptation! It’s way too easy to end up sending replies to every message from a mailing list or to addresses that will themselves reply back, causing a mail loop where each message generates another reply, ad infinitum. Instead, always set up such auto-responders in the server settings for your email provider, which are better about avoiding mail loops. Here are instructions for Gmail, iCloud, Outlook.com, Spectrum, Xfinity/Comcast, and Yahoo. If you use a different email provider, the instructions will likely be similar; check with your provider for details.
Recover Drive Space by Deleting Old and Unnecessary iOS Device Backups
If you’ve been good about backing up your iOS devices to iTunes on your Mac or to iCloud, give yourself a gold star! Both backup destinations are fine, but there’s one potential downside to iTunes backups: they can consume a lot of space on your Mac’s drive. In iTunes, go to iTunes > Preferences > Devices, where you’ll see all the iOS device backups that iTunes has stored. If there are multiple older backups or any for devices you no longer own, you can get rid of them. Control-click the offending backup, and choose Delete. Or, if you want to check how large a backup is first, instead choose Show In Finder, and then in the Finder, choose File > Get Info. When you’re ready, move the selected backup folder to the Trash.
What Are All These New Privacy Request Dialogs in Mojave?
With macOS 10.14 Mojave, Apple has beefed up the Mac’s privacy so it more closely resembles privacy in iOS. You’ve noticed that when you launch a new app on your iPhone or iPad, it often prompts for access to your photos or contacts, the camera or microphone, and more. The idea behind those prompts is that you should always be aware of how a particular app can access your personal data or features of your device. You might not want to let some new game thumb through your photos or record your voice.
macOS has been heading in this direction, but Mojave makes apps play this “Mother, May I?” game in more ways. As a result, particularly after you first upgrade, you may be bombarded with dialogs asking for various permissions. For instance, when you first make a video call with Skype, it’s going to ask for access to the camera and the microphone. Grant permission and Skype won’t have to ask again.
Skype’s requests are entirely reasonable—it wouldn’t be able to do its job without such access. That applies more generally, too. In most cases, apps will ask for access for a good reason, and if you want the app to function properly, you should give it access.
However, be wary if a permission dialog appears when:
- You haven’t just launched a new app
- You aren’t doing anything related to the request
- You don’t recognize the app making the request
There’s no harm in denying access; the worst that can happen is that the app won’t work. (And if it’s malicious, you don’t want it to work!) You can always grant permission later.
To see which permissions you’ve granted or denied, open System Preferences > Security & Privacy > Privacy. A list of categories appears on the left; click one to see which apps have requested access. If you’ve granted access, the checkbox next to the app will be selected; otherwise it will be empty.
You’ll notice that the lock in the lower-left corner is closed. To make changes, click it and sign in as an administrator when prompted.
Most of these categories are self-explanatory, but it might not always be obvious why an app wants permission. In the screenshot above, for instance, Google Chrome has been granted access to the Mac’s camera. Why? So Google Hangouts and other Web-based video-conferencing services can work.
There are five categories (including three not showing above) that could use additional explanation:
- Accessibility: Apps that request accessibility access want to control your Mac. In essence, they want to be able to pretend to click the mouse, type on the keyboard, and generally act like a user. Utility and automation software often needs such access.
- Full Disk Access: This category is a catch-all for access to areas on your drive that aren’t normally available to apps, such as data in Mail, Messages, Safari, Home, and more, including Time Machine backups and some admin settings. Backup and synchronization utilities may need full disk access, in particular. An app can’t request full disk access in the normal way; you must add it manually by clicking the + button under the list and navigating to the app in the Applications folder.
- Automation: The Mac has long had a way for apps to communicate with and control one another: Apple events. An app could theoretically steal information from another via Apple events, so Mojave added the Automation category to give you control over which apps can control which other apps. You’ll see normal permission requests, but they’ll explain both sides of the communication.
- Analytics: The Analytics privacy settings are completely different—they let you specify whether or not you want to share information about how you use apps with Apple and the developers of the apps you use. For most people, it’s fine to allow this sharing.
- Advertising: Finally, the Advertising options give you some control over the ads that you may see in Apple apps. In general, we recommend selecting Limit Ad Tracking, and if you click Reset Advertising Identifier, any future connection between you and the ads you’ve seen will be severed from past data. There’s no harm in doing it. It’s worth clicking the View Ad Information and About Advertising and Privacy buttons to learn more about what Apple does with ads.
So if you’ve been seeing repeated requests for permission after you upgraded to Mojave, now you know why these dialogs keep popping up. They’re a bit annoying at first, but the added privacy is worthwhile, and once you’ve granted permission to an app, you shouldn’t hear from it again.
So What Are All Those Stacks of Notifications in iOS 12?
It can be easy to become overwhelmed by iOS notifications, particularly if you have chatty friends or apps. In iOS 12, Apple corralled notifications by grouping them into stacks so you no longer see an endless screen of alerts. To expand a stack of notifications on either the Lock screen or in Notification Center (swipe down from the top of the screen), tap the stack. Once you’ve expanded a stack, you can tap Show Less to restack it, tap the X button to remove the entire stack, or tap any individual notification to open it. By default, iOS 12 groups notifications intelligently, which might entail separate stacks for different Messages conversations, for instance. If that’s still too much, you can go to Settings > Notifications > App Name > Notification Grouping and tap By App to collect every notification from the app into the same stack.
Did You Know iOS 12 Lets You Add a Second Person to Face ID?
Touch ID lets users register up to five fingers that can unlock an iPhone, which has long been a boon for those who share access to their iPhone with trusted family members. However, users of the iPhone X haven’t been able to give a second person Face ID-based access, forcing those people to wait for Face ID to fail and then tap in a passcode manually. iOS 12 lifts that limitation, allowing a second person to register their face with Face ID on the iPhone X and the new iPhone XR, XS, and XS Max. To set this up, go to Settings > Face ID & Passcode. Enter your passcode and tap Set Up an Alternate Appearance. Then give your iPhone to the person who should have access and have them follow the simple setup directions.