Exercise (Some) Control over How Much Your Location Is Tracked
AirDrop Reception Not Working? Here’s the Likely Fix
Use Guided Access to Let Kids and Others Use Your iPhone Temporarily
Migrate to a New Mac Right Away, Rather Than Waiting
Migrate to a New Mac Right Away, Rather Than Waiting
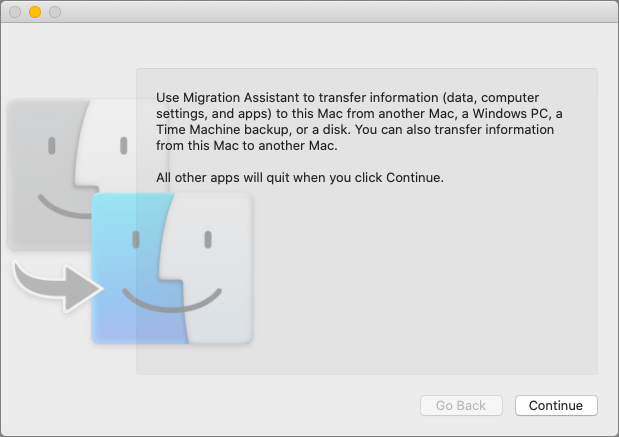
The next time you buy and set up a new Mac, make sure to migrate data and apps from your previous Mac to it right away during the initial setup. It can be tempting to see what it’s like to use it fresh from the factory or to delay migrating because doing so would force a macOS upgrade, but waiting is a mistake. The problem is that if you do real work in an account on the new Mac, when it comes time to use Migration Assistant to bring over data from your old Mac, there’s no way to merge the old and new accounts. The best workaround is to make sure all important data on the new Mac is also stored in a cloud service like iCloud Drive or Dropbox, and then replace the new account on the new Mac with the old account from your previous Mac. Bring all the data back down from the cloud afterward.
(Featured image built with images from Apple and Marc Mueller from Pexels)
We’ve got more migration tips here.
- A Step-by-step guide to Migration Assistant.
- Migrate Your Data from an Old iPhone to a New One with iOS 12.4’s New Feature
- Make a Backup before Upgrading to Catalina or iOS 13!
- Making the switch: Strategies for Switching from a Windows PC to a Mac
Use Your Apple Watch to Unlock Your Mac, and Apps in Catalina
Apple Releases Redesigned Mac Pro and Pro Display XDR
The iPhone 11 Camera App’s Shutter Button Works Differently—Here’s How
The iPhone 11 Camera App’s Shutter Button Works Differently—Here’s How
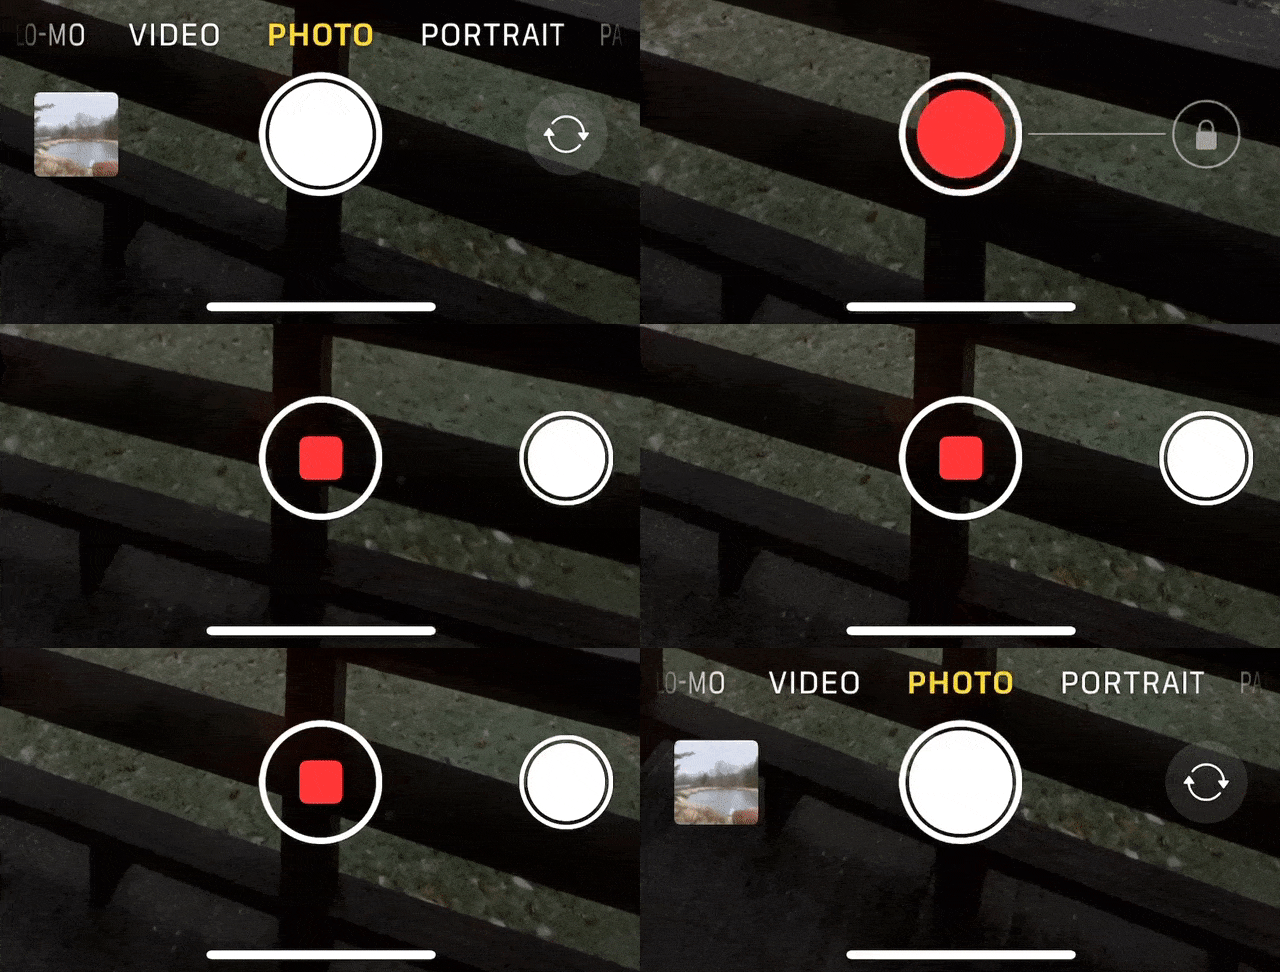
With the iPhone 11, iPhone 11 Pro, and iPhone 11 Pro Max, Apple changed the way the Camera app’s shutter button works in ways that could cause confusion. Tapping it once still takes a single still photo, but if you press and hold on the shutter button, it now captures a quick video. (Previously, pressing and holding on the button took photos in burst mode; to do that on the iPhone 11 models, slide the shutter button to the left.) Once you’ve started taking a quick video, slide your finger to the right to lock recording, so you don’t have to keep holding the button down. Tap the white shutter button to take a still image while recording; tap the red record button to stop recording. For even easier quick video recording, press and hold either of the volume buttons; a single press still takes a photo. Note that quick videos always record with mono sound and at a resolution of 1920-by-1440; for stereo sound and the resolution set in Settings > Camera, use the Camera app’s Video mode.
(Featured image by Agê Barros on Unsplash)
A few of the 437 times we talked about cameras.
(Just kidding… or are we?)
- Tired of Skewed Lines in Your Photos? Use the Camera App’s Hidden Level.
- Use Continuity Camera to Scan Documents and Take Photos Right into Mac Documents
- Remember That You Can Search for Nearly Anything in Your Photos Library
- The Secret Keyboard Shortcut for Comparing Before/After Edits in Photos on the Mac
Need to Move Lots of Data Between Macs? Try Target Disk Mode
Make Sure to Test Your Backup System with Occasional Restores
Make Sure to Test Your Backup System with Occasional Restores
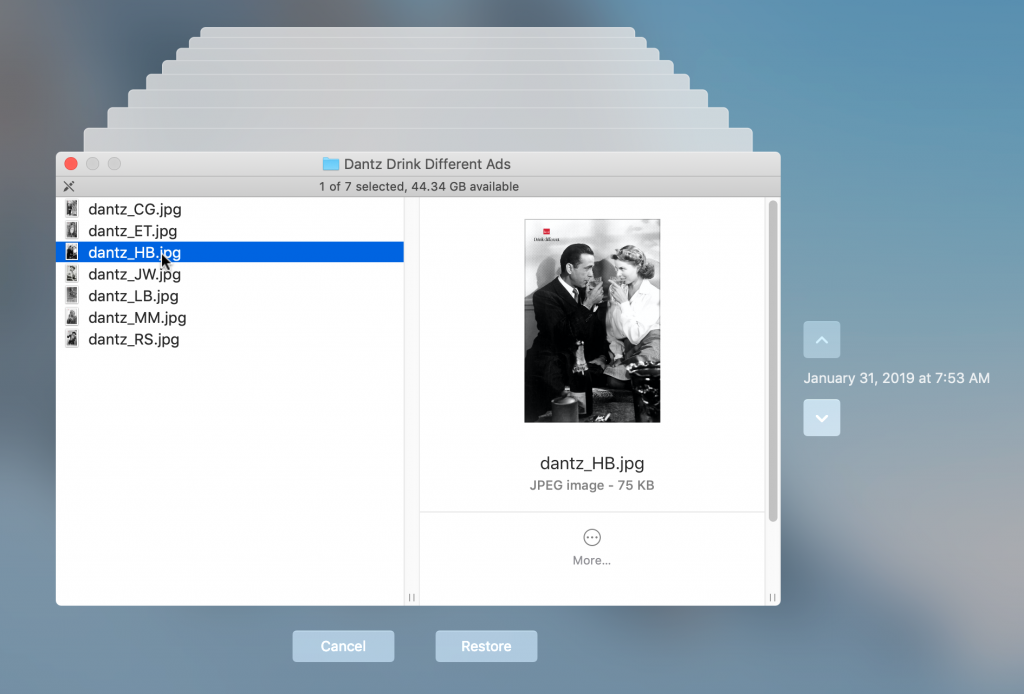
Did you know that the word for the irrational fear of Friday the 13th is paraskevidekatriaphobia? Neither did we, but what that supposedly unlucky day is good for—whenever it rolls around—is reminding us to test our backup systems. If something does go wrong, backups can save your bacon, but only if they’re actually working. So on Friday the 13th this month, take a few minutes to make sure you can restore files from Time Machine, see if you can boot from your bootable duplicate, and generally verify that your data really is being backed up successfully. And if you’ve already missed the 13th, today is a fine day to make up for it with a quick test.
(Featured image by Adam Engst)
You know you need these tips!
- Make a Backup before Upgrading to Catalina or iOS 13!
- Learn How to Autofill SMS Login Codes in iOS 12 and Mojave
- The Secret Trick That Lets You Paste Phone Numbers into the Phone App
- Go Beyond External Hard Drives with Network-Attached Storage
Did You Know You Can Drag the Scroll Bar in iOS 13?
Did You Know You Can Drag the Scroll Bar in iOS 13?
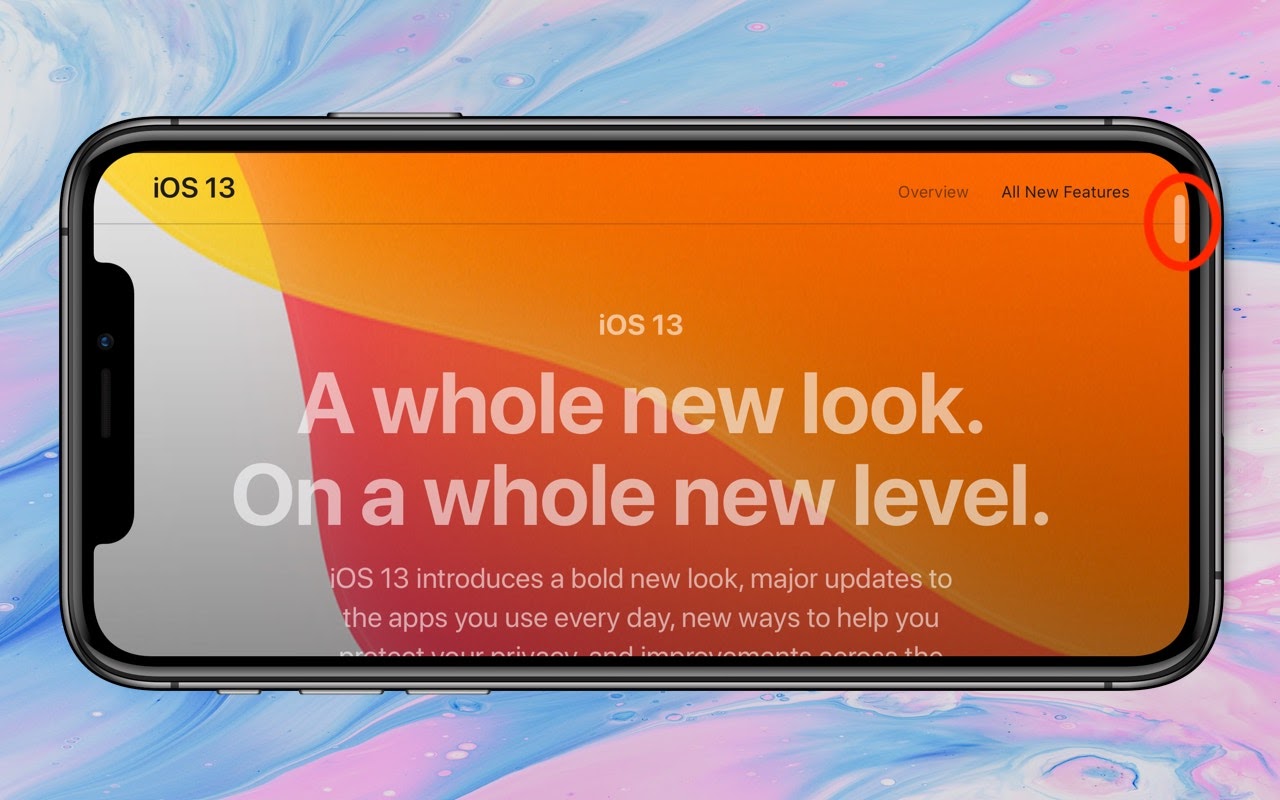
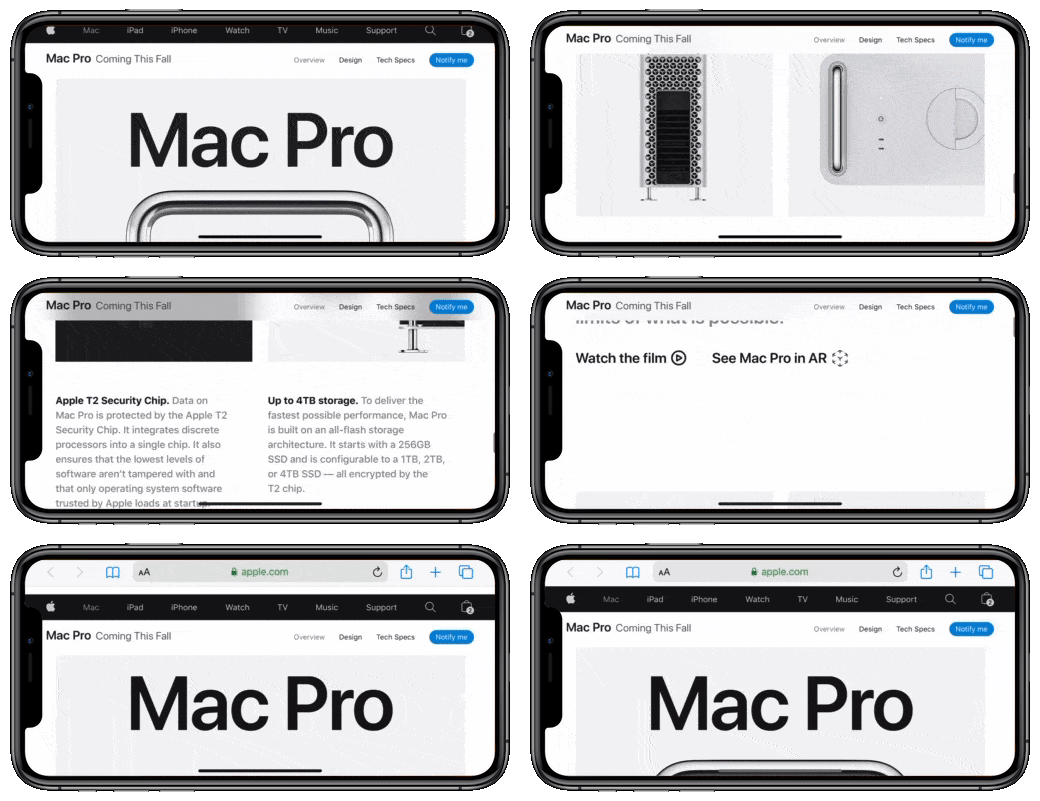
In previous versions of iOS, a scroll bar would appear on the right edge of the screen while you were swiping through a long Web page, email message, or document. But the scroller was merely an indicator of where in the page you were and how much content there was (the bigger the scroller, the less content). In iOS 13 and iPadOS 13, however, Apple has made the scroll bar more helpful, and you’ll want to use it to scroll long pages more quickly than you can with swiping. To use the scroll bar, swipe slightly to make it appear, press and hold the scroller, and drag it to scroll. The only hard part is that it can be tricky to grab since it disappears a few seconds after you stop scrolling, and it’s a thin target to hit with a thick finger. But give it a try since it makes scrolling in long pages so much easier.
(Featured image background by Paweł Czerwiński on Unsplash)
More iOS tips just for you.
- iPhone Not Charging Reliably? Clean Its Lightning Port with a Toothpick
- Try Using a Magic Trackpad 2 with Your iPad Running iPadOS 13.4
- The Fastest Way to Change Wi-Fi Networks in iOS 13
- Set Your Preferred Name and Photo for Messages in iOS 13


